

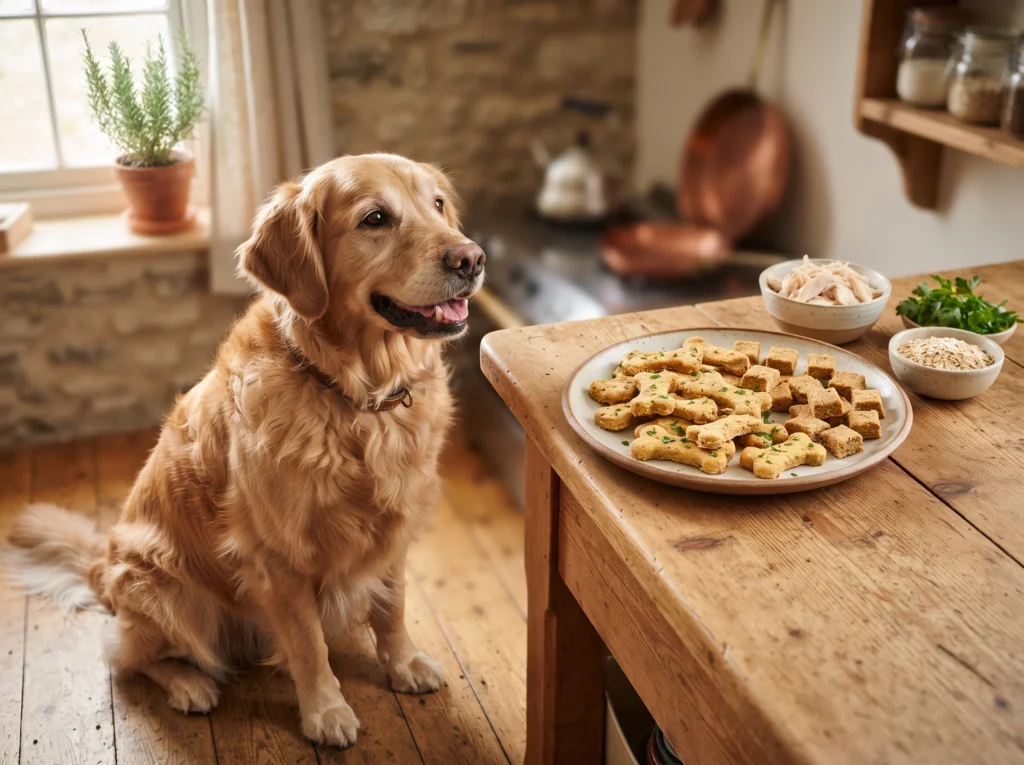
Store-bought chicken-flavored dog treats can be surprisingly expensive for what amounts to a small bag of baked dough. Between fancy packaging, brand markups, and “premium” labeling, you could easily spend $8–$12 on a bag that disappears in a week. The good news is that with a few pantry staples and some chicken you likely already have on hand, you can make a big batch of chicken-flavored treats for less than $3 total — and know exactly what’s inside every bite.
This guide covers the ingredients, step-by-step instructions, cost breakdown, storage advice, and answers to common questions so you can start baking with confidence.
Why Make Chicken Dog Treats at Home?
They’re genuinely budget-friendly. A few chicken breasts, some flour, and a couple of eggs cost a fraction of what a bag of branded treats runs, and homemade batches typically yield far more treats per dollar spent.
No mystery ingredients. Many commercial chicken treats list “chicken meal” or “chicken by-product” rather than real chicken. When you make them yourself, real chicken is exactly what goes in.
Great for dogs with sensitivities. Homemade treats let you skip common allergens like corn, soy, and artificial preservatives that sometimes trigger itching or digestive upset in sensitive dogs.
Dogs love the smell. Chicken is one of the most irresistible scents for dogs, making these treats useful for training sessions where a high-value reward matters.
Ingredients You’ll Need
Base Recipe (makes about 40–50 small treats):
- 1 cooked chicken breast, shredded or finely chopped (about 1 cup)
- 1 1/2 cups whole wheat flour (or oat flour for a grain-sensitive dog)
- 1 egg
- 1/4 cup low-sodium chicken broth (plus more if needed)
Optional Add-Ins:
- 1 tablespoon olive oil (adds shine and helps binding)
- 1/2 teaspoon dried parsley (freshens breath)
- 1 tablespoon rolled oats (for texture)
Equipment Needed:
- Food processor or blender (for shredding/pureeing chicken)
- Large mixing bowl
- Rolling pin
- Baking sheet
- Parchment paper
- Small cookie cutter (optional)

Cost Breakdown: Why This Recipe Stays Under $3
Here’s roughly how the math works out for a typical batch:
- Chicken breast (1, using leftovers or a small cut): ~$1.50
- Whole wheat flour (1 1/2 cups from a bag): ~$0.30
- Egg (1): ~$0.25
- Chicken broth (1/4 cup from a carton): ~$0.20
- Optional oil/herbs: ~$0.15
Total: approximately $2.40, and that’s before accounting for the fact that most of these ingredients are pantry staples you probably already have, effectively lowering the real cost even further. Compare that to a $10 bag of 30 store-bought treats, and the savings are substantial — especially if you have a dog who goes through treats quickly during training.
Step-by-Step Instructions
Step 1: Cook and Prepare the Chicken
If you don’t already have cooked chicken on hand, boil or bake a chicken breast until fully cooked (no seasoning, salt, garlic, or onion — these are unsafe for dogs). Let it cool, then shred or finely chop it. For a smoother dough, pulse it in a food processor until it’s nearly paste-like.
Step 2: Preheat the Oven
Set your oven to 350°F (175°C) and line a baking sheet with parchment paper.
Step 3: Combine Wet Ingredients
In a large bowl, mix the shredded chicken, egg, and chicken broth until well combined. If using olive oil, add it here too.
Step 4: Add the Flour
Gradually mix in the flour, a half cup at a time, stirring until a firm dough forms. If the dough feels too dry, add a splash more broth; if it’s too sticky, sprinkle in a little extra flour.
Step 5: Roll and Cut
Turn the dough out onto a lightly floured surface and roll it to about 1/4-inch thickness. Use a small cookie cutter to cut out shapes, or simply slice the dough into bite-sized squares with a knife or pizza cutter.
Step 6: Bake
Arrange the treats on the prepared baking sheet with a little space between each. Bake for 20–25 minutes, or until firm and lightly golden. For extra-crunchy treats (great for longer shelf life), turn off the oven and let them sit inside for an additional 20–30 minutes as it cools.
Step 7: Cool Before Serving
Allow the treats to cool completely on a wire rack. This helps them firm up and develop a satisfying crunch that dogs enjoy.
Storage Tips
Because these treats contain real chicken and no artificial preservatives, storage matters more than with shelf-stable store-bought options:
- Refrigerator: Store in an airtight container for up to 1 week.
- Freezer: Freeze in a sealed bag or container for up to 3 months; thaw small portions as needed.
- Room temperature: Not recommended for more than a day or two, since the chicken content makes these more perishable than oat- or peanut butter-based treats.
Always inspect treats for unusual smell or texture changes before serving, especially if stored for an extended period.
Tips for Success
- Never season the chicken. Garlic, onion, and heavy salt are toxic or harmful to dogs, even in small amounts.
- Cut treats small. Bite-sized pieces work best for training, where frequent small rewards matter more than large treats.
- Watch the crunch level. Smaller, thinner treats bake crunchier; thicker pieces stay softer and are gentler for older dogs or puppies with sensitive teeth.
- Double the batch. Since the ingredients are inexpensive, making a double batch and freezing half is an easy way to always have treats ready.
Frequently Asked Questions
Can I use canned chicken instead of fresh?
Yes, as long as it’s plain canned chicken with no added salt, broth, or seasoning.
Can I substitute the flour?
Oat flour or rice flour both work well as grain-sensitive alternatives, though the texture may be slightly softer.
Is chicken broth necessary?
It’s not strictly required, but it adds moisture and boosts the chicken flavor dogs love. Water can be used in a pinch.
How long do these treats last?
Refrigerated, they stay fresh for about a week; frozen, they can last up to three months.
Final Thoughts
You don’t need to spend a fortune to keep your dog happy and well-rewarded. With a single chicken breast, a bit of flour, and a few pantry basics, you can make a large batch of chicken-flavored treats for under $3 — all while knowing exactly what’s going into your dog’s diet. Whether you’re training a new puppy or just want to spoil your loyal companion, this budget-friendly recipe delivers big flavor without the big price tags.