

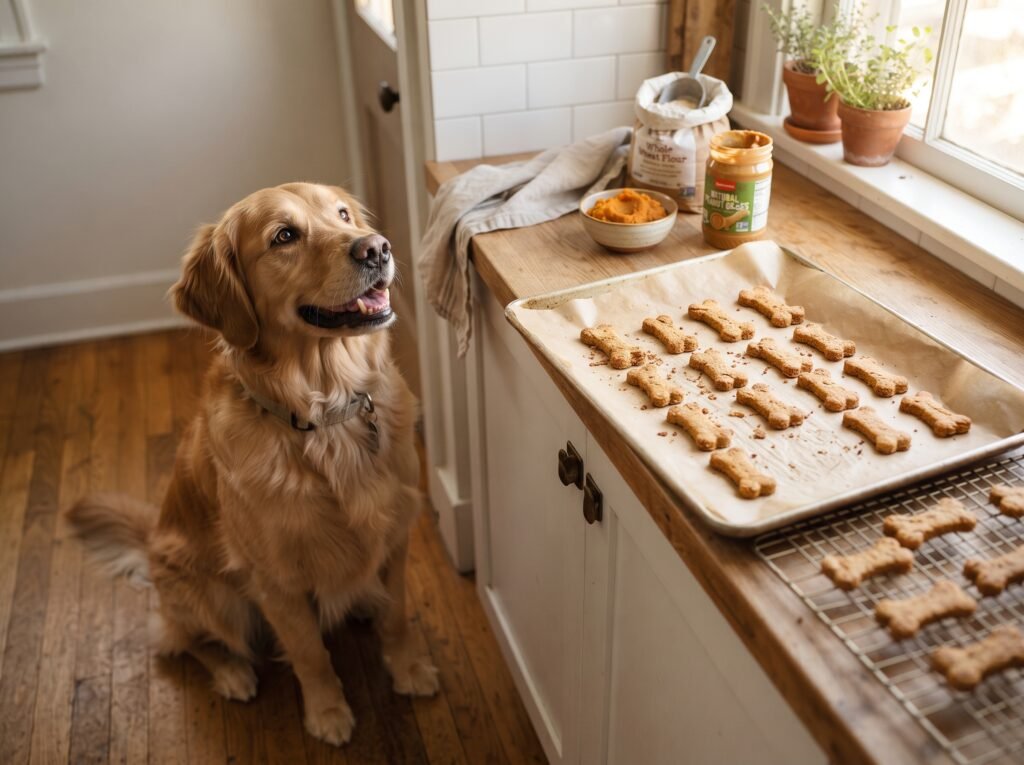
Every dog owner knows the look: the tilted head, the wide eyes, the hopeful stare that appears the moment you walk near the treat jar. Giving your dog a reward is one of life’s small joys, but flipping over a store-bought bag and finding a long list of unfamiliar ingredients can take the fun out of it.
The alternative is easier than you might think. Homemade dog biscuits can be made with just three everyday ingredients, a bowl, and a baking sheet. No special equipment, no complicated techniques, and no ingredient you can’t pronounce. Here’s everything you need to bake a batch your dog will love.
Why Bake Dog Treats at Home?
Before we get to the recipe, here’s why so many pet owners are making the switch.
Full ingredient control. Some dogs have sensitivities to wheat, dairy, or artificial additives. When you bake at home, you decide exactly what goes in.
Lower cost. Pantry staples stretch a long way. A single batch of these biscuits costs a fraction of what you’d pay for premium bakery-style treats.
Fresh and preservative-free. Homemade treats contain no artificial colors, flavors, or chemical preservatives.
A rewarding routine. Baking for your dog is a nice way to slow down, and the results make training sessions more fun.
Ingredients
This recipe makes about 30 small biscuits.
The 3 Main Ingredients:
- 2 cups whole wheat flour (plus extra for dusting)
- 1/2 cup plain pumpkin puree (100% pumpkin, not pie filling)
- 1/4 cup natural peanut butter (xylitol-free)
You’ll also need:
- 2 to 4 tablespoons of water, added only if the dough is too dry
Equipment:
- Large mixing bowl
- Rolling pin
- Cookie cutter (optional)
- Baking sheet
- Parchment paper
- Wire cooling rack

A Quick Word on Each Ingredient
Whole wheat flour forms the structure of the biscuit and provides fiber. If your dog has a wheat sensitivity, oat flour or brown rice flour makes a good substitute.
Pumpkin puree is a popular ingredient in dog treats because it’s rich in fiber and is often used to support healthy digestion. Always check the can to make sure it contains only pumpkin. Pumpkin pie filling contains sugar and spices that aren’t suitable for dogs.
Natural peanut butter provides the flavor dogs go crazy for. The most important rule: check the label for xylitol. This artificial sweetener is highly toxic to dogs, and some “sugar-free” peanut butters contain it. Choose a brand with peanuts (and maybe a little salt) as the only ingredients.
Step-by-Step Instructions
Step 1: Preheat and Prepare
Heat your oven to 350°F (175°C). Line a baking sheet with parchment paper so the biscuits don’t stick.
Step 2: Combine the Wet Ingredients
In a large bowl, stir the pumpkin puree and peanut butter together until smooth. If your peanut butter is stiff, warm it in the microwave for 10 seconds first so it blends easily.
Step 3: Add the Flour
Add the flour about half a cup at a time, mixing as you go. The dough will look crumbly at first. Keep stirring, then switch to your hands and knead it gently until it comes together.
Step 4: Adjust the Texture
The ideal dough is firm, like a sugar cookie dough, and not sticky. If it’s too dry and crumbly, add water one tablespoon at a time. If it’s too sticky, sprinkle in a little more flour.
Step 5: Roll and Cut
Lightly flour your counter and roll the dough to about 1/4 inch thick. Cut out shapes with a cookie cutter, or use a knife to slice small squares. Re-roll the scraps until you’ve used all the dough.

Step 6: Bake
Arrange the biscuits on the baking sheet. They don’t spread, so they can sit fairly close together. Bake for 30 to 35 minutes, until the edges are golden and the biscuits feel firm.
Step 7: Dry and Cool
For a crunchier biscuit, turn the oven off and leave the biscuits inside for another hour. Then move them to a wire rack and let them cool completely before serving
 .
How to Store Homemade Dog Biscuits
Because these treats have no artificial preservatives, storage matters.
- Pantry: Keep in an airtight container for up to one week.
- Refrigerator: Lasts about two weeks when sealed.
- Freezer: Freeze in a zip-top bag for up to three months.
Toss any biscuits that develop an off smell, soft spots, or mold.
Safety Tips Every Dog Owner Should Know
Follow the 10% rule. Treats should make up no more than about 10% of your dog’s daily calories. These biscuits are a reward, not a meal.
Watch for allergies. When trying a new recipe, offer one biscuit first and watch for itching, stomach upset, or other unusual reactions.
Adjust the size. Make tiny biscuits for small breeds and larger ones for big dogs. Choose a size that is easy to chew and swallow.
Skip harmful ingredients. Never add chocolate, raisins, grapes, onions, garlic, macadamia nuts, or xylitol to dog treats.
Talk to your vet. If your dog has diabetes, pancreatitis, food allergies, or another health condition, ask your veterinarian before introducing new treats.
Easy Variations to Try
Once you’re comfortable with the basic recipe, experiment with these simple twists:
- Swap pumpkin for unsweetened applesauce (make sure it has no added sugar)
- Add a pinch of cinnamon for extra aroma
- Mix in a tablespoon of finely shredded carrot
- Use a bone-shaped cutter to make gift-worthy treats for a dog-loving friend
Frequently Asked Questions
Can I make these biscuits without peanut butter?
Yes. Pumpkin puree alone will bind the dough. You may need a splash more water, and the flavor will be milder.
Why are my biscuits soft instead of crunchy?
Either they were rolled too thick or they weren’t dried long enough. Try rolling thinner or leaving them in the cooling oven for an extra hour.
How many biscuits can my dog eat per day?
That depends on your dog’s size and diet. As a general guide, one or two small biscuits a day is plenty for most medium-sized dogs.
Can puppies eat these?
Most puppies can enjoy them in small amounts, but check with your vet first, especially for very young puppies.
Final Thoughts
Making homemade dog biscuits doesn’t need to be complicated. With whole wheat flour, pumpkin, and peanut butter, you can bake a wholesome treat in less than an hour and know exactly what your dog is eating. Keep portions modest, store them properly, and enjoy watching your best friend’s tail wag with every bite.