

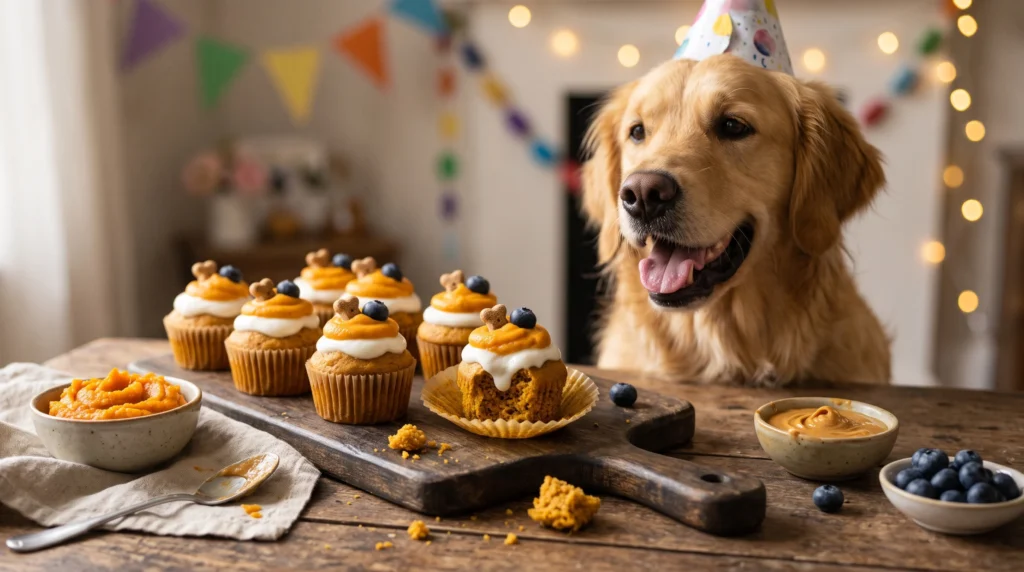
Birthdays, adoption anniversaries, or a Saturday that needs something special: these pupcakes fit them all. They are soft and moist, with the flavors dogs love most: pumpkin, peanut butter, and a creamy yogurt topping. They use simple pantry ingredients, contain no added sugar, and take about 35 minutes from start to finish.
This guide covers why the ingredients work, the full recipe, frosting tips, storage, and safety notes every dog owner should know.
Why These Ingredients Work
Pumpkin is rich in fiber, beta-carotene, and moisture. It keeps the pupcakes soft without oil or sugar and is gentle on most dogs’ stomachs. If your dog loves it, our collection of pumpkin dog treats has plenty more ideas.
Peanut butter adds protein, healthy fats, and the flavor most dogs can’t resist. Always choose a natural variety with no xylitol, which is toxic to dogs.
Plain yogurt makes a tangy, creamy frosting. Many dogs tolerate small amounts well, and it replaces sugary store-bought icing.
Ingredients
For the pupcakes (makes about 18 mini pupcakes):
- 1½ cups whole wheat flour (or oat flour for a gentler option)
- 1 teaspoon baking powder
- ½ cup plain canned pumpkin (not pumpkin pie filling)
- ⅓ cup natural peanut butter, xylitol-free
- 1 large egg
- ¼ cup water
- ½ teaspoon cinnamon (optional)
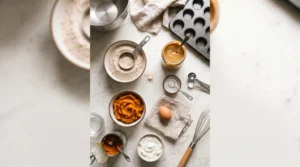
For the yogurt frosting:
- ¾ cup plain, unsweetened Greek yogurt (check the label: no xylitol, no artificial sweeteners)
- 2 tablespoons plain pumpkin puree
Equipment: mini muffin tin, mini paper liners or a light coat of coconut oil, mixing bowls, whisk, spatula, wire rack, and a piping bag or small spoon.
Step-by-Step Instructions
Step 1: Preheat and Prepare
Heat the oven to 350°F (175°C). Line a mini muffin tin with paper liners, or grease it lightly. Mini pupcakes are better for portion control and are easier for small dogs to eat.
Step 2: Mix the Wet Ingredients
In a large bowl, whisk together the pumpkin, peanut butter, egg, and water until smooth. If your peanut butter is stiff, warm it in the microwave for 10 seconds first so it blends easily.
Step 3: Add the Dry Ingredients
In a separate bowl, stir together the flour, baking powder, and cinnamon. Add the dry mixture to the wet mixture and fold gently until just combined. The batter will be thick, closer to cookie dough than cake batter. If it is too stiff to scoop, add water one teaspoon at a time.
Step 4: Fill the Tin
Spoon the batter into each cup, filling about three-quarters full. Smooth the tops lightly with a damp finger.
Step 5: Bake
Bake for 15 to 18 minutes, until the tops spring back when touched and a toothpick comes out clean. Let the pupcakes cool in the tin for 5 minutes, then move them to a wire rack.
Step 6: Cool Completely
Do not frost warm pupcakes. The yogurt will melt and slide off. Wait at least 30 minutes.
Step 7: Make and Apply the Frosting
Stir the Greek yogurt and pumpkin together until smooth. For a thicker frosting, strain the yogurt through a coffee filter in the fridge for an hour, which removes extra liquid. Spread or pipe the frosting onto each pupcake. Chill for 20 minutes to set it.

Decorating Ideas
Keep the decorations simple and dog-safe:
- A tiny dot of peanut butter on top
- A sprinkle of crushed plain dog biscuits
- A thin slice of strawberry or a few blueberries
- A shake of cinnamon
Avoid chocolate, raisins, grapes, macadamia nuts, and sprinkles made for human cakes. If you are planning a full celebration, you’ll find more party ideas in our guide to birthday cake recipes for dogs.
Storage Tips
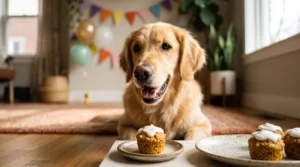
Because of the yogurt frosting, these pupcakes need to be refrigerated.
- Frosted pupcakes: Refrigerate in an airtight container for up to 4 days.
- Unfrosted pupcakes: Keep at room temperature for 2 days, or in the fridge for up to 1 week.
- Freezer: Freeze unfrosted pupcakes in a sealed bag for up to 3 months. Thaw them in the fridge, then frost before serving.
Throw away any pupcakes that smell off or show signs of mold.
Safety Notes Every Dog Owner Should Read
Check for xylitol. It is found in some peanut butters and “sugar-free” yogurts and can be life-threatening to dogs. Read every label. For a full list of risky ingredients, see our guide to harmful dog treat ingredients.
Skip pumpkin pie spice. Pumpkin pie mix and pie spice blends often contain nutmeg and added sugar, which are not safe for dogs. Use only plain canned pumpkin.
Watch for dairy sensitivity. Some dogs struggle with lactose. Start with a small taste of frosting, and skip it if your dog gets gas or loose stools. The pupcakes are still good without it.
Keep portions small. Treats should make up no more than 10% of your dog’s daily calories. One mini pupcake is plenty for most dogs, and half is enough for toy breeds.
Talk to your vet if needed. Dogs with diabetes, pancreatitis, food allergies, or weight issues may need a different recipe. Peanut butter is high in fat, so it may not suit every dog.
Frequently Asked Questions
Can I use all-purpose flour?
Yes, but whole wheat or oat flour is a better choice because it has more fiber. For grain-free dogs, try a chickpea or coconut flour blend, though the texture will change.
Can I make these without peanut butter?
Yes. Replace it with unsweetened applesauce or extra pumpkin for a peanut-free version.
Can I use fresh pumpkin?
Absolutely. Use plain, cooked, well-drained pumpkin puree with no seasoning.
Are these suitable for puppies?
Puppies can usually enjoy a small piece, but check with your vet first, especially for very young puppies.
Can I bake these as a full-size cake?
Yes. Pour the batter into a small greased pan and bake for 25 to 30 minutes. It makes a nice birthday cake for one dog.
Final Thoughts
These pumpkin peanut butter pupcakes are simple, affordable, and made with ingredients you can pronounce. They turn an ordinary day into a celebration, and your dog won’t mind if the frosting is a little messy. Serve small portions, keep an eye on labels, and enjoy watching your best friend dig in.